Monday, July 20, 2015

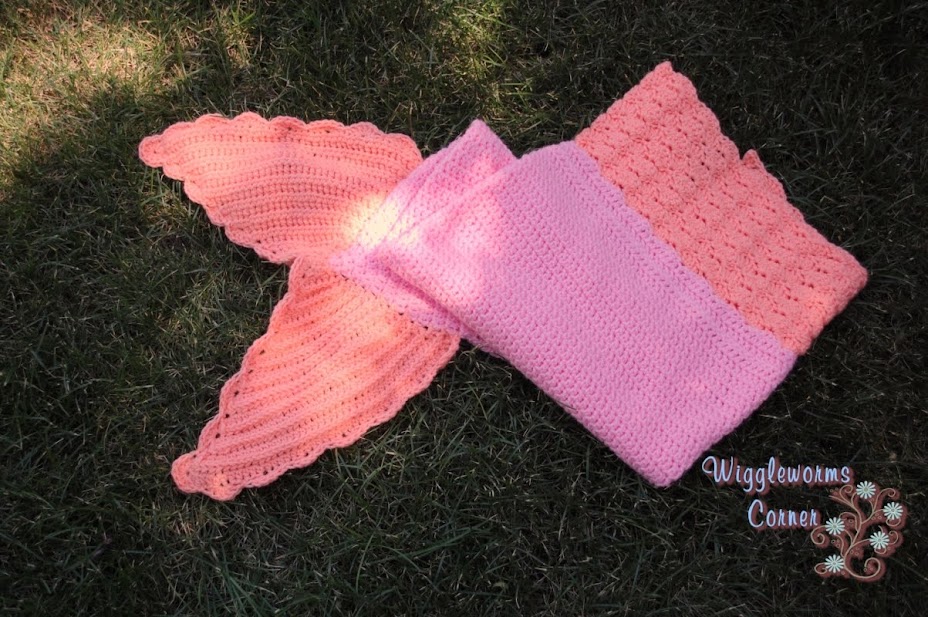
Crocheted Mermaid Tail

Crocheted Mermaid Tail

A friend ask me if I could
make her children mermaid tails. 
I tried out one I kind of liked and 
another I didn't like to much. 


The one I kind of liked. I just didn't like the 
tail on it. So I looked around and saw one 
I liked.

I came up with my own pattern for them all and 
love how they turned out. Most importantly 
the kids loved them. 
My daughters friends birthday was this weekend 
and I made one for her. The top picture. 
Know to work on one for all my girls. 
 
Here are a few links to some free patterns:
 
If you have any questions. Please feel free to ask me here or send
me an email. wigglewormscorner@gmail.com
 
If you can't crochet or would like one
Come and visit me me 
at one of the following places of your choice. 
or you can email me at wigglewormscorner@gmail.com
   
Happy Crocheting! 


Sunday, February 8, 2015

Crocheted Heart Pattern

Crocheted Heart Pattern
by Angela Scherber


Materials : 
Yarn:I used I love this yarn (you can use any kind you would like.)
 Hook: H and J (I like to go a couple of sizes up. So I can make sure my stitches don't get to tight for the sl st. You may just use the h if you want.)

Abbreviations:
ch=chain
sc=single crochet
dc=double crochet
hdc= half double crochet
tr= triple/treble crochet
sl st=slip stitch 

Pattern:
ch 4, 2 tr, 2 db, 2 hdc, sc, ch 2, sc, 2 hdc, 2 dc, 2 tr, ch 4, slip stitch into magic ring
Pull the magic ring yarn tighter but not to tight just yet. You need some room to get into the first stitch to do a sl st around in each stitch. 

Cut yarn and now pull the magic ring yarn as tight as you would like. Weave in ends

Add any kind of embellishment you would like. 

To obtain different sizes I use different size hooks.

If you have any questions please feel free to ask. 

If you would like or can't crochet a heart(s).
Come and visit me me 

at one of the following places of your choice. 


or you can email me at wigglewormscorner@gmail.com


Happy Crocheting! 

Saturday, February 7, 2015

One stop slipper sock! (Crochet)

One stop slipper sock!

Crochet

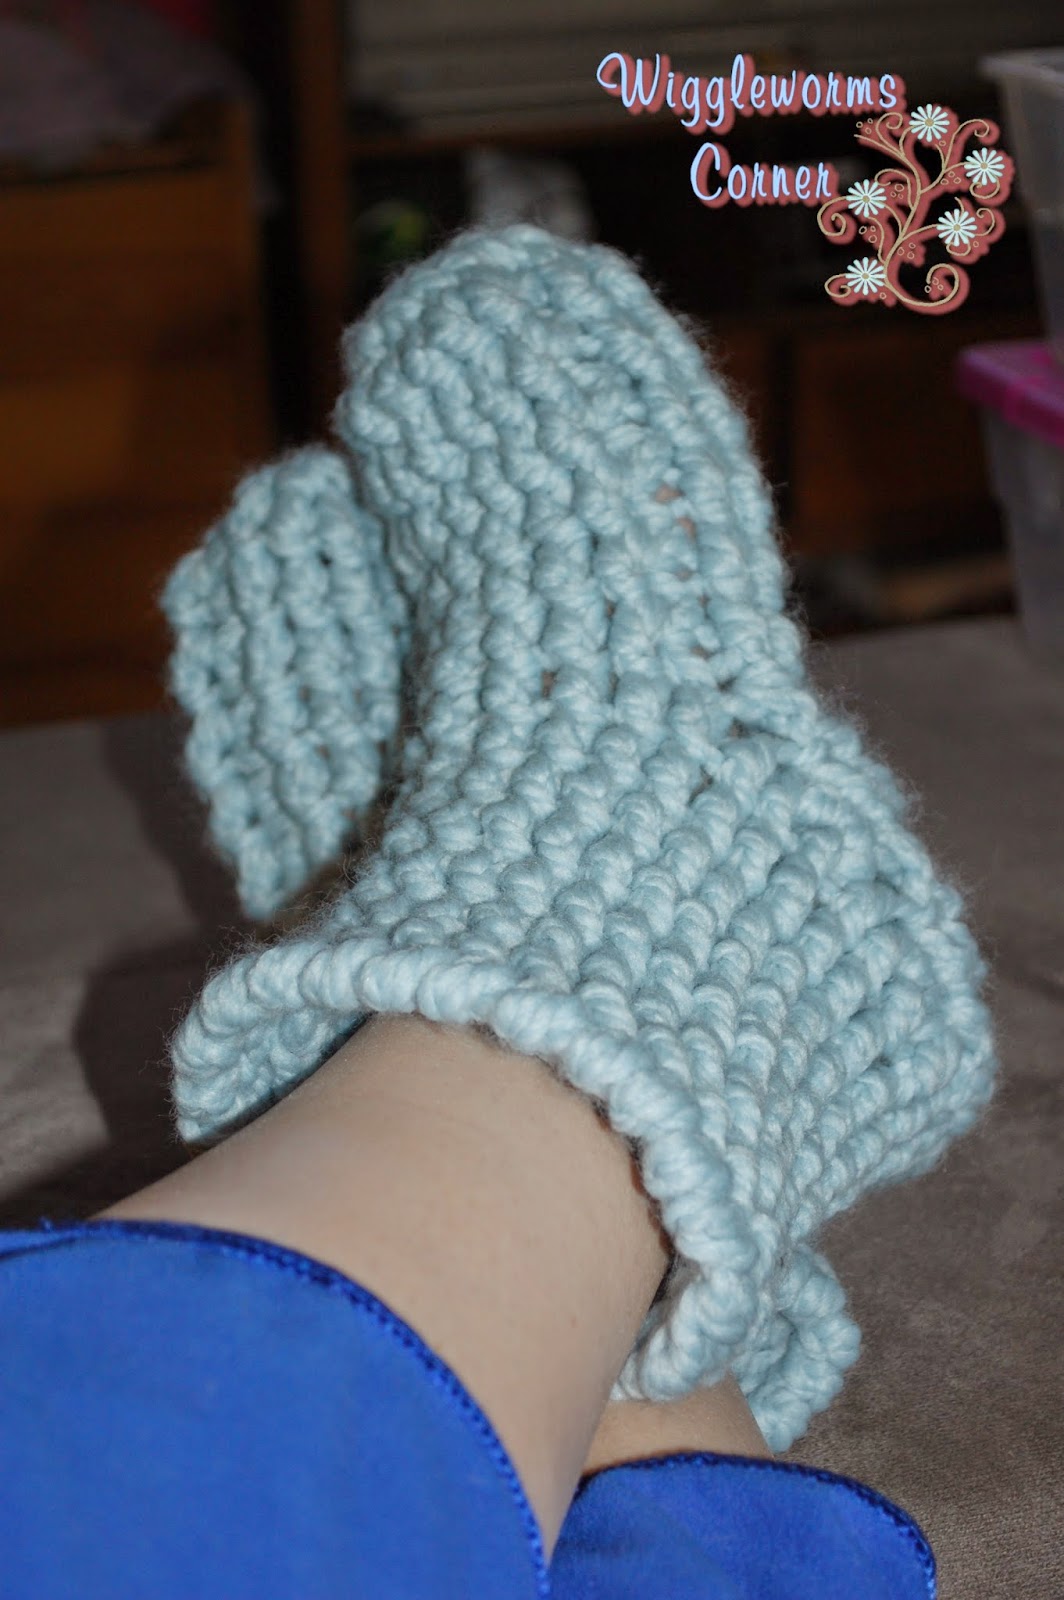
Oh my gosh, I love these. I got some super thick yarn and made myself a pair. My girls loved them and wanted me to make them a pair too. So off to Micheal's we went and they picked out the yarn they wanted. 

I love finding new fun and interesting patterns on youtube. I'm one that is a visual person. So video's are the best for me. 


For me it's an easy pattern to follow and change to the size I wanted. My littlest one loves them the most and wears them to bed almost every night. Especially when it's below zero out.

Crochet Slipper boots tutorial - (One stop slipper sock!) Part one of two 


Crochet Slipper boots tutorial - (One stop slipper sock) - Part two 


If you have any issues with the links please let me know. 


If you can't crochet and would like a pair.
Come and visit me me 

at one of the following places of your choice. 


or you can email me at wigglewormscorner@gmail.com


Happy Crocheting! 

Friday, August 15, 2014

Crocheted Round Ripple Blanket

Crocheted Round Ripple Blanket


I'm just in love with this blanket.
It's a very easy pattern to follow along to. 

I got the pattern from Ravelry. All you need is to 
sign up for free. 
Pattern here:

Rainbow Ripple Baby Blanket 

It took me a week to get it finished. 

I would get my girls to bed and sit and 

watch my shows and crochet away. I did 

work on it a few times during the day. 

Nice thing is you can make is smaller or bigger. 

I would like to make one that is bigger for my bed. 

My oldest is in to spiderman. I'm going to make one for 

her for Christmas. So that one will have to be done in secret

after they go to sleep. 


If you make one I would love to see a picture of it. 

If you can't crochet and would love a crocheted round ripple blanket.


Come and visit me me 
at one of the following places of your choice. 
or you can email me at wigglewormscorner@gmail.com
   
Happy Crocheting! 


Thursday, August 14, 2014

Making your own hand carved stamp

Making your own hand carved stamp


I have been looking for some yarn stamps. 
I found one but it was smaller then I wanted. 
I just ordered one and really wanted 
it to be personalized. So I thought
I could put the words I wanted around it. 
So I went to youtube to see if I could find a video.
Here is the first one I found. 

Making your own hand carved stamp
Materials: 
- Rubber (Speedball Speedy is what I used)
- Carving tool (I used Speedball Linoleum Cutter
- #2 pencil
- Tracing paper (optional)
- Xacto or retractable blade knife
- Stamp pad
+Paper

1) I first found a design I liked and then just traced over it with my pencil. 

2) Once I traced over it all. I then placed it on my speedball speedy rubber and taped it down to hold it in place. With the back of my speedball linoleum cutter I used the back and pressed down a bit to get the pattern onto the stamp. 
3) Then I started to cut out. Which was a lot of fun. It did take time but I turned on some music and went to work. 
 4) Once I got it to how I felt was good enough. I did a stamp to see how it looked. 

 I was very happy. I had a few spots that needed touching up. I really thought there would be a bit more since it was my
first time. 

Once cleaned up. I did one more stamp test. 

 I can't wait to make more. 
If you try one let me know how it goes and what you think. 

Happy Crafting!!!

Wednesday, August 6, 2014

Crocheted Star Blanket

Crocheted Star Blanket

I love this blanket. My second loves stars and she inspired me 
to make this one. She wants me to make one as a rug for her 
deep closet. She has a play area in there and needs a rug. 

I got the pattern at the store but here is a link to it:


I had a lot of fun making this and it was
an easy pattern to follow. 


If you make one let me know what you think.  
I would also love to see pictures.

If you can't crochet and would love a crocheted star blanket.
Come and visit me me 
at one of the following places of your choice. 
or you can email me at wigglewormscorner@gmail.com
   
Happy Crocheting! 


Thursday, July 24, 2014

Swiffer Wet Jet Reusable Pad

Swiffer Wet Jet Reusable Pad


I got a chance to try it out this morning 
and just love it. The pad is so absorbent. 
I was able to get my whole kitchen and 
downstairs bathroom mopped up. 
They are not very big either. 
I was so happy I found this pattern and made one. 
I can't wait to make more. 

 
The pattern is not hard to follow at all. 
It also didn't take long to crochet up. 
I got the pattern from
on Etsy.

I also made the one for a 
swiffer pad. 
Here is a link to that blog,

Crocheted Swiffer pad


If you make one let me know what you think. 

If you can't crochet and would love this reusable pad.
Come and visit me me 
at one of the following places of your choice. 
or you can email me at wigglewormscorner@gmail.com
   
Happy Crocheting!