Wednesday, October 24, 2012

Latest Creations

Latest Creations

I have been very busy the last few weeks. With orders, 
girls school, our 10th Anniversary and well just life. 
Here are some of my latest creations I have 
worked on. 


NDSU Bison Crocheted Hat


One Eyed Twikies hat


Two Eyed Twikies hat and Mouse Ears. 
For a couple of weeks on Facebook. I had Free 
 Mouse Ears with any hat order. 


Crocheted Lace Scarf - I will do a tutorial on this one soon. 


Knitted Ruffle Scarf


Christmas Stocking with Initials


Fingerless gloves


Knitted Pigtail Hat

  
Knitted Fingerless gloves

I have been so behind on blogging and need to get caught up. I have so much more I want to share with you. 

Happy Crafting!


Wednesday, October 10, 2012

Taco Bake

Taco Bake


My girls love this. We did leave out the 
Salsa Con Queso. I had them try it and 
they did not like it. It turned out really good
without it. 

Taco Back

Ingredients:
 
1 pound ground beef
1 packet taco seasoning
* water as called for on back of seasoning packet
3 large flour tortillas (8-inch size)
1/2 cup Salsa Con Queso
1 1/2-2 cups shredded Mexican cheese blend

Directions:
 
Brown and crumble ground beef. Drain excess grease.
Add in taco seasoning and water (following directions on back of seasoning packet).

Once the taco meat is ready, turn off heat and add in 1/2 cup salsa con queso.Give it a good stir until thoroughly combined. 

Preheat oven to 350F degrees. 
Spry an 8-inch round baking pan with nostick cooking spray. 
Layer the bottom of the pan with flour tortilla.  

Now add about 1/3 of the ground beef taco filling on the first layer.  

Then add 1/3 of the shredded cheese.

continue until you are done with all the layers: another tortillla, more taco mixture, more cheese. 
Bake at 350F dregrees for about 15-20 mins.
Until  cheese is melted and edges are slightly golden brown. 

Allow to cool for a couple of minutes. 
Then slice and serve. 

We topped ours with sour cream. I also added green onions. 

Here is the link to where I got it: Taco Bake 

Happy Cooking! 

Tuesday, October 2, 2012

Wavy Hair look

Wavy Hair look


We had a side braid in earlier and when she took it out. 
She loved the look. So on Sunday night. We 
sat and did some french braids in her hair. 
Here is what it looked like when 
we were all done. 


I just used a spray bottle to get it wet as I went along. 
She then slept in them all night long. 
Here is the look in the morning. 


I wanted to curl it under but she liked the way it looked. 
So we left it. She really liked it. 

Happy Styling!

Monday, September 24, 2012

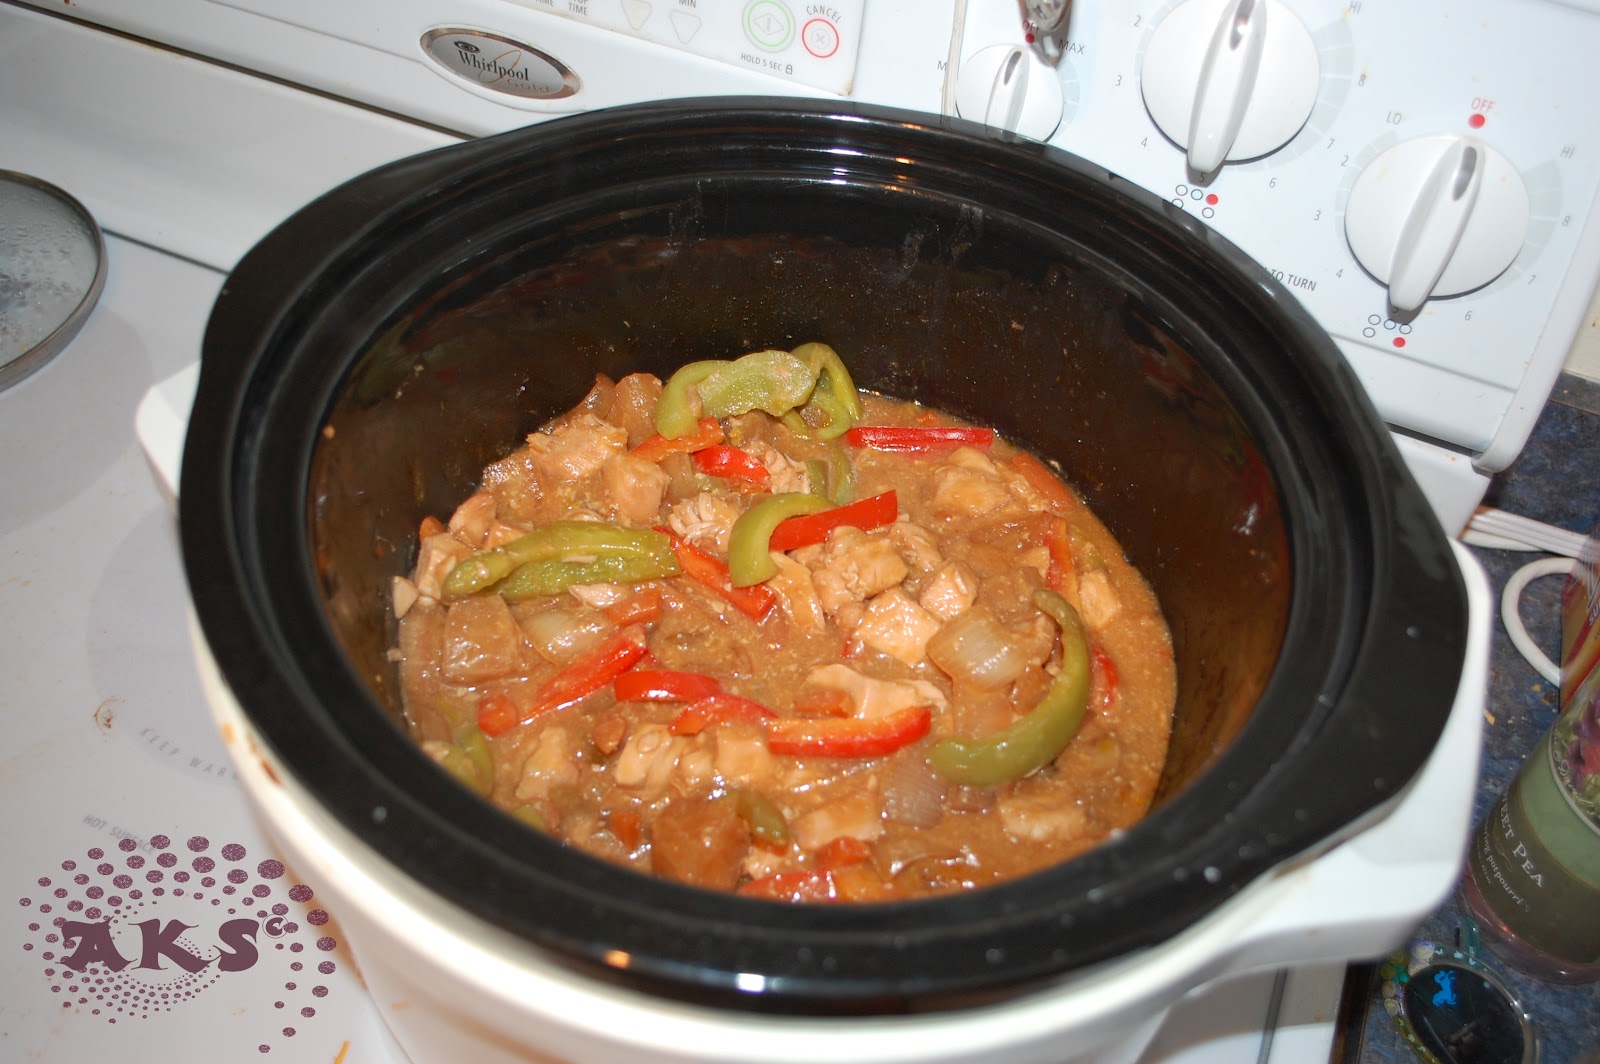
Slow-cooker Sweet & Sour Chicken

Slow-Cooker Sweet & Sour Chicken


Prep time: 15 mins
Total time: 5  hours 45mins

Servings: 6 servings(for us it servers more then that. I also have three younger girls)
 

What you will need:

1 onion, sliced

1 carrot, sliced

1 stalk  celery, sliced

1-1/2 lb.  boneless skinless chicken thighs, cut into bite-size pieces

1/3 cup  packed brown sugar

1/3 cup  KRAFT Classic CATALINA Dressing

1/4 cup  soy sauce

1 tsp.  grated gingerroot

1 Tbsp.  cornstarch

1 can  (8 oz.) pineapple chunks, drained, liquid reserved

1 each green and red pepper, cut into strips

3 cups  hot cooked long-grain white rice
Make it
PLACE onions, carrots and celery in slow cooker; top with chicken.
 
MIX sugar, dressing, soy sauce and ginger; pour over chicken. Cover with lid.
 
COOK on LOW 4 to 5 hours, increasing heat to HIGH for the last 30 min.
 
STIR cornstarch into reserved pineapple liquid. Add to slow cooker with pineapple and peppers; stir. Cook, covered, 30 min. or until sauce is thickened. Serve over rice.  

I like to make rice with mine. My girls like it with noodles. 

I got this recipe from Kraft Foods. I get an email set to me every know and then with recipes. 
Here is the link: Slow-Cooker Sweet & Sour Chicken
This way you can get a better print out. 


If you have any questions, comments or have tried it. Share what you think. I would love to hear them. :)

Happy Cooking!

Friday, September 14, 2012

Knotted Hair Bun

Knotted Hair Bun


I like this one. But I do think
my hair needs to be a bit logner
to really get it too look better. If I 
decide to wear it down. Like she 
says in the video. 

It was really easy and fast to do. 
I also only used four bobby pins. Which
for me I usually have to use more then that. 
I am going to wear this tomorrow at 
Scrap Fest. :)

Knotted Hair Bun - Link 


It is a great updo for summer, wedding, or just a 
day you want your hair out of your way.

Happy Styling!

Friday, September 7, 2012

Cheri's Sweet Creations


You have to stop by Cheri's Sweet Creations
She has yummy treats, lunch and much more.

We go every week for lunch. She has specials every 
know and then. There are sub's, wraps, salads, 
string cheese, fruit cups and much more. 


We can never leave with out a cookie or another 
treat. 


She also makes big cookies. My 5 year old had one for her birthday and 
the kids loved it. There was nothing left to bring home. 


We got my Dad one for his birthday. They are so yummy. 

Cheri's Sweet Creations has yummy cakes.


Come and Check out there Candy Bouquets


So stop by Cheri's Sweet Creations when you are in the 
Fargo-Moorhead area.

Have permission from Chere's Sweet Creations to use her photo's. 
Then you Cheri and see you soon.

Thursday, September 6, 2012

Triple Crown

Triple Crown


 This was really easy to do and I it was comfy all day long. 
This is a great summer updo, so pretty for a wedding or 
special occasion.

LINK: 

I love her tutorials.

Here is what it looked like when I was done. 

If you don't know how to do a french or Dutch braid. 
Please follow this link and she will help you out. 


I need to move the braids over a bit and I did not have any 
of those small clear ponytails left. So I had to use 
my girls small color ponytails. I used back with the hope 
it would hide a bit better. 


I took out the bobby pins for the night and left in the braids.
I love the look braids give when they are taken out. So this is what 
I did with my hair today(Sept 6, 2012). 


I just stuck it up with a clip and then
add a cute scarf I had. 


Happy Styling!